


Generate Wind Turbine Airfoil Blade Cross-Sections
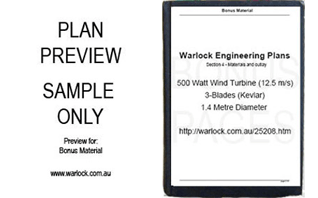
Wind Turbine Plans
Starting Guide
Starting Guide


Starter Guide


Continue to summaries about.....

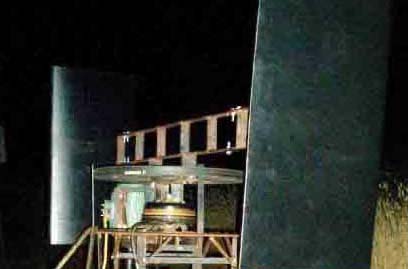
VAWT Wind Turbine


Frequently asked questions about plan orders, blade design, electrical work and generator matching can be found on our Q&A pages.
Related Articles
Generate Stencils For Your Airfoil Cross-Sections: Use the Chord Section Generator in the Trial Range for Free.

Free Trial: Cord Section Generator
Free: Chord sections for 2 or 3 blade wind turbines with a radius between 0.70 and 0.80 meters (2.30 to 2.62 ft) at TSR 7 to 8.
Custom chord sections outside this range can be purchased from $4.95, please send us your specifications. Follow the link below to order. Larger chord sections (beyond A0) may require up to 28 days for manuscript adjustment
How to use the pdf plans from the warlock blade design software.
How to use the chord section to manufacture wind turbine blades.

1. Print the
bladecalc plans
and cut out
each chord
section.
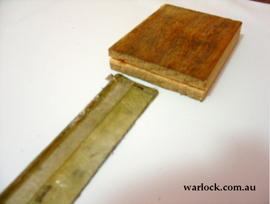
2. Paste the shapes on balsa (at least 3 mm thick (0.12 inch) and cover the entire piece with super-glue adhesive.
3. Cut out each balsa section using a scalpel.
 and superglue adhesive the entire piece. Cut out each balsa section using a scalpel.")

4. Make a hub from wood with a thickness to match section 1.
5. Create a root using a solid piece of plastic or sheet metal with a thin rod to align the crosshairs drawn on each section.
6. Glue the root into the hub.
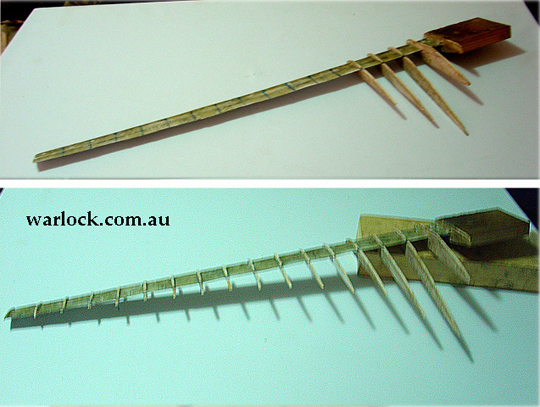
7. Position each balsa section at the radius shown on the plans and glue (or silicon) them in place.


8. Use fiberglass gel-coat or epoxy to cover the entire blade skeleton.
9. Glue acetate sheet to the top and bottom of the sections.

.")
10. Seal the acetate sheet with aluminium tape (or waterproof tape).
11. Make a border (molding clay is shown below) to support the casting mixture (plaster/gauze shown below. Can also use plaster/fiberglass or fiberglass/fiberglass resin).
 to support the casting mixture (plaster/gauze shown below. Can also use plaster/fiberglass or fiberglass/fiberglass resin).")
13. Make a cast of the other side.


ADVERTISEMENT

14. If the mold is too thin, fiberglass the outside of it before pulling it apart.
15. When dry, pull the mold apart and sand the insides smooth.
16. Apply a layer of wax to the inside of the mold. (Layers of hairspray or shellac also work)
17. Fill the inside of both mold halves with at least 4 layers of fiberglass matting. For a 0.7 meter (2.30 ft) blade use at least 375g (13.23 Oz) of resin per side (steps 1-2).
18. Clamp both mold halves together when the resin has reached gel point (steps 3-4).
. Fill the inside of both mold halves with at least 4 layers of fiberglass matting. For a 0.7 meter (2.30 ft) blade use at least 375g (13.23 Oz) of resin per side (steps 1-2). Clamp both halves together when the resin has reached gel point (steps 3-4).")

19. After 72 hr, pull both halves of the mold apart. If a plaster mold sticks shut, the plaster can be dissolved with dilute vinegar or hydrochloric acid.
20. Sand the blade smooth and fit a solid hub piece.